Thursday, November 9, 2023

Mastering Cold Weather Concrete Casting


Mastering Cold Weather Concrete Casting with SetBoost Pro

As temperatures drop and winter approaches, the challenges of concrete casting become more pronounced. It's crucial to understand that the colder the weather, the longer it takes for concrete to set and cure. In fact, for every 10-degree Fahrenheit drop in temperature, the typical curing time doubles. For instance, concrete that usually takes 2 hours to set at 70 degrees will take 4 hours at 60 degrees. And if the temperature dips to 50 degrees or lower, concrete may become virtually inactive, leading to potential curing issues.

Conquering Cold Weather Concrete Challenges

To tackle these challenges head-on, various strategies can be employed to expedite the setting time:

1. Warm Water: Introducing warm water into the mix can kickstart the concrete's hydration process, aiding in proper curing.

2. Heated Curing Blankets: These provide a controlled environment, maintaining the ideal temperature for curing concrete.

3. Chemical Accelerators: A convenient option is the use of chemical accelerators designed to speed up the curing process.

Introducing SetBoost Pro : Your Cold Weather Concrete Solution

We're thrilled to introduce SetBoost Pro, a game-changing powdered admixture that can significantly reduce concrete setting times. With SetBoost Pro, you can confidently meet project deadlines, even in the most challenging weather conditions.

What Makes SetBoost Pro Stand Out?

Remarkable Speed and Strength: SetBoost Pro can accelerate concrete setting times by up to 50%, while simultaneously enhancing the density and strength of the concrete, ensuring exceptional durability.

No Impact on Color: Composed of a white powder, SetBoost Pro won't alter the color of your concrete, allowing you to maintain your desired aesthetic.

Chloride-Free and Corrosion-Resistant: SetBoost Pro is free from chlorides, making it safe for steel reinforcement. It actively prevents steel corrosion, preserving the integrity of your structures.

Faster Stripping and Reduced Cracking: It expedites mold stripping, saving valuable time, and effectively reduces curling and cracking, resulting in a smoother construction process.

Versatility for All Concrete Types: Whether you're working with standard mixes or high-performance formulations, SetBoost Pro delivers exceptional results.

Ideal for Cold Weather: SetBoost Pro is the ultimate solution for cold weather casting. It not only accelerates setting but also enhances strength gains, making it a go-to choice for challenging environmental conditions.

Conclusion

As the winter season approaches, ensure the success of your concrete projects with SetBoost Pro. Master cold weather casting with this groundbreaking accelerator, and experience faster setting times and enhanced concrete performance. Don't let temperature fluctuations slow you down; embrace SetBoost Pro for a smoother, more efficient construction process.

Discover the power of SetBoost Pro and take your concrete casting to the next level. Contact us today to learn more and keep your projects on track, no matter the weather.

For more information or to purchase: https://concretecountertopsupply.com/setboost-pro-concrete-accelerator/


The Basics of Glass Fiber Reinforced Concrete (GFRC)

Glass Fiber Reinforced Concrete (GFRC), also known as Glassfibre Reinforced Concrete (GRC), is a versatile engineered material composed of cement, aggregate, polymer, and fibers. This amalgamation creates a remarkably lightweight yet incredibly robust substance. GFRC is renowned for its exceptional flexural strength, making it an ideal choice for a myriad of 
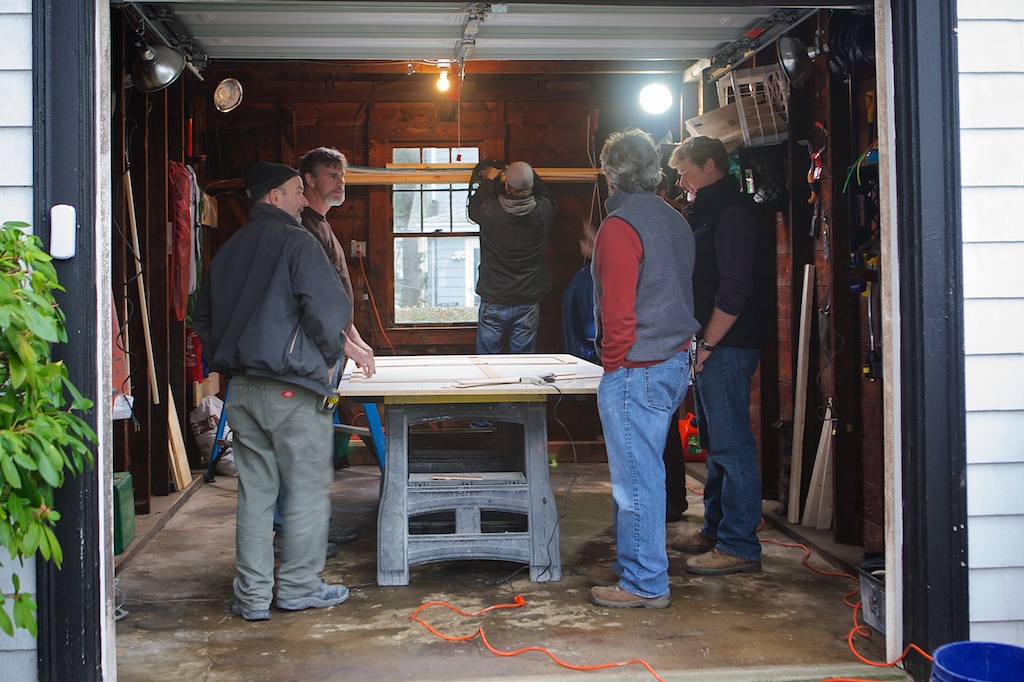
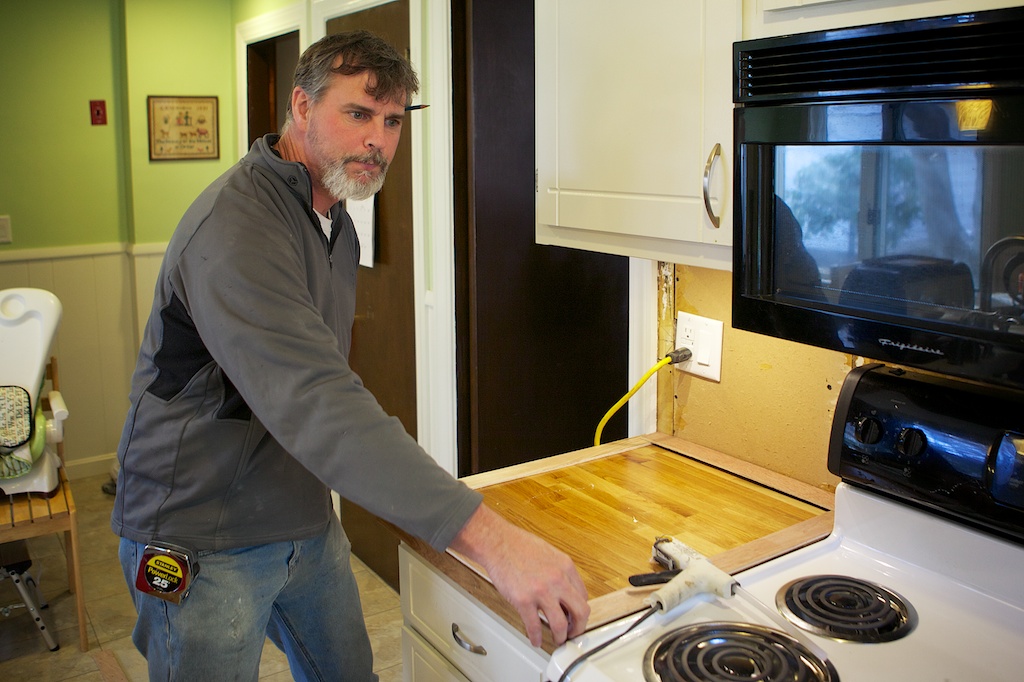
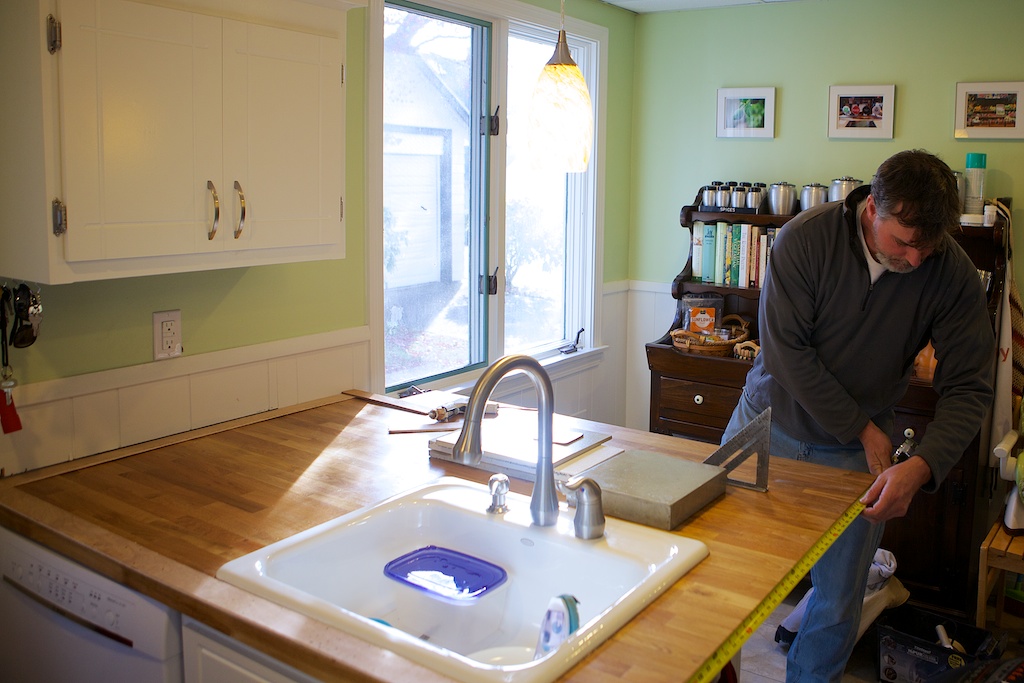
interior and exterior applications such as wall cladding, fire pits, countertops, furniture, and more.


Understanding GFRC Mix Composition

One of the distinctive features of GFRC is its unique mix composition when compared to traditional concrete. The key components in a GFRC mix include:

1. High Cement Proportion: GFRC mixes typically consist of an equal ratio of cement to sand, which is relatively high compared to conventional concrete mixes.

2. Glass Fiber Reinforcement: Instead of utilizing steel for reinforcement, GFRC employs glass fibers as the primary reinforcement material. These fibers significantly contribute to the material's remarkable strength and durability.

3. Polymer Resin: An acrylic polymer resin is added to the mix to enhance the material's strength, act as a curing aid, and provide numerous other benefits.

4. Additional Components: Many GFRC mixes may also include pozzolans, defoamers, and shrinkage reducers to further enhance their properties.


Basic GFRC Mix Design

Here's a breakdown of the basic components in a typical GFRC mix design:


·         Cement: 18.5 lbs (8 kg)

·         Alto-Pozz: 4.5 lbs (2 kg)

·         Sand (#30 sieve preferred): 23 lbs (10 kg)

·         Water: 6-6.5 lbs (3-3.5 kg)

·         KongKrete Polymer: 2.3 lbs (1 kg)

·         PVA Fibers 8mm (face coat only): 85 grams

·         ¾” (19mm) AR Glass Fibers (Backer Coats only): 2.6 lbs (1.1 kg)

·         Optimum 380 Superplasticizer: 23-42 mL

·         C-64 Defoamer (optional): 5-10 mL

It's important to note that this information provides only a fundamental understanding of the GFRC mix design process. There are various factors and variables that can influence the final outcome, and therefore, independent practice and testing are crucial.


The GFRC Process Overview

The GFRC fabrication process involves several key steps to ensure the material's proper composition and successful casting. Let's delve into the process:


A. Prepare Supplies & Equipment

1. Ensure all necessary equipment and tools are set up and ready for use.

2. Prepare the casting forms by cleaning and applying a release agent. Remove any caulk or residue, cover screw heads with tape, and complete other necessary preparations.

3. Cut and prepare any foam, scrim, or inlays that will be included in the project.


B. Calculate Recipe & Materials Needed

1. Determine the batches for the face and backer coats based on your project's requirements. Use a mix calculator for accurate measurements.

2. Decide on the total number of batches to be mixed, considering factors like job size, ambient temperature, the type of mixing equipment, and the working time. Avoid mixing more material than can be used within 20 minutes.


C. Mixing

1. Begin with the Mist Coat (Face Coat) by mixing one batch using a handheld mixer to create a thin, milkshake-like consistency. Add plasticizer as needed to maintain the desired texture.

2. For the Backer Coat, mix one batch with fibers for the initial backer coat. Dispense only half of the mix into a bucket, ensuring it can be used before it begins to set. Adjust the consistency based on your preference, with thinner mixes being easier to work with and achieving better consolidation.


3. Follow these steps for mixing:

·         Add mix water and polymer to the mixing bucket.

·         Dry blend sand, pigment, cement, and pozzolan (PVA fibers for the face mix) in a separate bucket.

·         Add approximately 80% of the dry blended material to the water and mix on low speed until well blended. For backer coats, add AR Glass fibers after thoroughly mixing and blend them in on low speed.

·         Repeat for subsequent and final backer coats.

·         Mix on high speed for 1-2 minutes to shear the mix until it reaches a loose, smooth consistency, similar to a milkshake.

·         Add the remaining dry blended material and mix on low until well blended. Adjust the consistency with plasticizer if necessary.


D. Casting

1. Start with the Mist Coat:

·         Fill the hopper gun about halfway.

·         Set the air pressure to around 90 PSI and regulate it at the gun to achieve the desired results (usually around 45 PSI at the gun).

·         Test spray in an area away from the forms to ensure the gun is operating correctly.

·         Begin spraying from a corner, working outward, concentrating on edges first and then open areas. Clear any sand rebound that accumulates and ensure the material looks wet when applied.

·         Do not allow the mist coat to dry; it should remain soft to promote proper bonding.


2. Backer Coat Options:

   - You can apply the backer coat with a backer coat gun, maintaining a higher air pressure (100+ PSI) and spraying an even, thin layer over the surface. Use chip brushes and compaction rollers to ensure proper consolidation.

   - Alternatively, you can apply the backer coat by hand, taking care not to push it through the mist coat. Use chip brushes and compaction rollers to achieve the desired thickness and proper consolidation.

3. Make sure to address any corners, edges, and open areas thoroughly. It's crucial to avoid any gaps or air pockets between layers, and reinforcing fibers should be correctly oriented to maximize strength.


E. Curing

1. Gently clean excess cement from the forms.

2. Mist the concrete surface with water and cover it with plastic to ensure wet curing for at least 24 hours (or 36 hours in cooler temperatures). The plastic should fully enclose the mold and be secured to retain moisture.

3. Enhance curing by using moving blankets, foam sheets, or other means to maintain heat and minimize gaps between the mold and plastic. It's vital to keep the surface hydrated for the first 24-36 hours.


F. Demolding

1. You can demold GFRC as soon as 24-36 hours after casting, provided the concrete is at room temperature. Be cautious when handling the material, as it is still relatively soft. Faster curing can be achieved with accelerators and heat.

2. Once removed from the mold, place the casting on stickers or shims to allow air movement on all sides of the concrete for even curing.

3. Avoid placing any objects on top of fresh concrete, as this could cause "ghosting."


G. Slurry Coat (Optional)

1. If necessary, create a slurry coat using the following recipe:

·         Dry Ingredients: Cement (320 grams), Alto-Pozz (80 grams), Microspheres (up to 60 grams).

·         Wet Ingredients: Mix 1 part KongKrete Polymer with 3-4 parts water.

2. Mix only the amount of slurry that you can use within 15 minutes. If it hardens, you can add Optimum plasticizer to extend working time.

3. Dampen the surface lightly and spread the slurry into voids, ensuring it is packed thoroughly. Use hand tools, a grout float, sponge, or any suitable equipment to achieve this.


In conclusion, understanding the basics of Glass Fiber Reinforced Concrete (GFRC) is essential for those looking to work with this innovative construction material. By following the process of preparation, mixing, casting, curing, demolding, and optionally applying a slurry coat, you can create a wide range of durable and visually appealing projects, from countertops and wall cladding to furniture and fire pits. Remember that practice, experimentation, and meticulous attention to detail are key to mastering the art of working with GFRC.

Wednesday, October 18, 2023


The Essential Role of Acrylic Polymer in GFRC Concrete


In the world of concrete, there exists a versatile and high-performance material known as Glass Fiber Reinforced Concrete (GFRC). This innovative form of concrete combines the strength of traditional concrete with the flexibility and lightweight properties of glass fibers. What makes GFRC truly exceptional, however, is the critical role that acrylic polymer plays in its composition. In this article, we will delve into the importance of acrylic polymer in GFRC concrete and why it is so important in the construction industry.


Understanding GFRC Concrete

Before we dive into the significance of acrylic polymer in GFRC, let's first understand what GFRC concrete is and why it's gaining popularity in construction.

GFRC is a composite material made by mixing cement, sand, water, and alkali-resistant glass fibers. The result is a concrete that is not only significantly lighter than traditional concrete but also boasts impressive tensile and flexural strength. This unique combination of properties makes GFRC an ideal choice for a wide range of architectural applications, including façades, countertops, sinks, and more.


The Role of Acrylic Polymer

Acrylic polymer, often referred to as a "GFRC admixture," is the secret sauce that elevates GFRC concrete to a superior material for construction. Here's why it's so essential:

Certainly, here's an updated list of the role of acrylic polymer in GFRC concrete with the addition of its impact on curing and concrete hydration:


1. Enhanced Flexibility and Durability: Acrylic polymer serves as a bonding agent that effectively bridges the gap between the cement matrix and the glass fibers, creating a robust, flexible matrix that can withstand a wide range of stresses and strains. This results in greater durability, reducing the likelihood of cracking and increasing resilience in challenging environmental conditions.

2. Improved Workability: Acrylic polymer helps maintain the workability of the GFRC mix, allowing for greater creative freedom in shaping and designing architectural elements.

3. Reduced Weight: Acrylic polymer lowers the density of the concrete while maintaining its structural integrity, making GFRC lightweight and ideal for transportation and installation.

4. Enhanced Resistance: Acrylic polymer enhances the resistance of GFRC to alkali, moisture, and chemicals, ensuring that it remains structurally sound and aesthetically pleasing over time, even in harsh environments.

5. Improved Aesthetics: Acrylic polymer provides a smooth surface finish that can be customized with various textures, colors, and patterns, contributing to the material's visual appeal.

6. Elimination of 7-Day Wet Cure: Acrylic polymer helps eliminate the need for the traditional 7-day wet curing process, saving time and resources in construction projects.

7. Enhanced Concrete Hydration: Acrylic polymer aids in the hydration of concrete, promoting the chemical reactions between water and cement that contribute to the concrete's strength and durability.


Applications of GFRC with Acrylic Polymer

The combination of GFRC and acrylic polymer opens up a world of possibilities in construction and design. Here are some notable applications:

1. Architectural Façades: GFRC panels with acrylic polymer coatings are a popular choice for cladding building exteriors, as they offer both durability and aesthetic versatility.

2. Countertops and Sinks: The lightweight nature of GFRC makes it a preferred choice for creating custom countertops and sinks that are both stylish and long-lasting.

3. Decorative Elements: GFRC, when reinforced with acrylic polymer, is used to create intricate decorative elements such as moldings, sculptures, and ornamental details on buildings.


Conclusion

Acrylic polymer is the unsung hero of GFRC concrete. Its addition to the mix transforms GFRC into a construction material with unparalleled durability, workability, and aesthetic potential. As architects and builders continue to push the boundaries of design, the importance of acrylic polymer in GFRC becomes increasingly evident. This innovative combination is not just changing the face of construction but also allowing for a new era of architectural creativity and durability in the industry.

Friday, May 24, 2013

May GFRC Basics Class


Successful 2 day class last May on GFRC basics. We had a small group that had plenty of hands on time creating an integral sink countertop project, vanity sink, and this great outdoor 30" firebowl with 18" round Fire-burner mounted to a 48" square tabletop.  Our Guest Trainer Dave Magnano, shown in picture at far left, flew in from Conneticut and demonstrated GFRC tips for professionals.

Monday, March 25, 2013

Watch the video from Ask This Old House TV Episode

Peter Somers did a fantastic job showing viewers the correct way to make concrete counter tops in  Episode #11-25 on Ask This Old House which was shown on most PBS stations across America last weekend.


Along with the homeowner, Corey Brett, Peter and show host, Kevin O'Connor demonstrated the steps involved in making custom concrete counter tops in a residential kitchen.  Peter used the GFRC spray technique and a custom mix design from scratch to produce a grey toned color and glass aggregate counter top.

This Old House production crew showcased the process involved, being careful not to skip necessary steps in the advanced process. From template to install this episode showed viewers many of the steps that are normally skipped through when filming a short TV episode.

Thank you to Peter, Corey, Kevin and the wonderful production crew and staff at Ask This Old House for spending the time to show viewers that making concrete counter tops takes skill, patience and the correct materials for success.

For more information on the products used in the episode and a from Scratch Mix recipe, visit our website


Wednesday, March 13, 2013

Concrete Project featured on Ask This Old House


Ask This Old House episode 

begins airing March 21st


Peter Somers owner of Concrete Poetry uses Fishstone products in a Concrete counter top kitchen project in Massachuttes.  Peter shown with cast and crew designs a concrete countertop to replace wood counter tops in a customer's home.


Peter templates and designs counter top to precast a custom concrete mix in molds on site.


A custom GFRC mix and Hopper Gun is used to Spray the concrete into the molds.

Peter uses a Flex Wet Polisher and Planetary Polisher to produce a smooth and polished surface.


 Peter Somers shown with This Old House host, Kevin O'Connor at Project Taping.


Photos provided by Cory Brett